
So, here's a quick list of what you will need:
Styrofoam cone shape (whatever size you want)
Ribbon or fabric
A sewing machine...or not perhaps
A wooden candle stick - purchased at Hobby Lobby in a bag of 6 for $3.47
A wooden finial - purchased at Hobby Lobby in a bag of 3 for $1.47
Wooden bases - purchased at Hobby Lobby for $.99
Hemp or twine or some sort of tieing type stuff
Jingle bells
Glue gun with glue sticks
Spray paint
Step 1: Spray paint the wooden bases, candle sticks, and finials in a color of your choice. I stuck with an Ivory White. I liked the look of it and I really think it makes it a little bit country chic.


Step 2: While the paint is drying, take the ribbon and sew a single line down the edge of it. I really didn't measure how much I did, I just kind of guessed at it and sewed it. If I were to guess now I would say I probably did 2-3 yards. Step 3: Gather the ribbon. You do this by grabbing one of the loose threads at one end of the sewed line and pull gently. You will only grab one, not both of the loose threads. Just continue to pull and gently move the fabric until you get the desired look. If you have a ruffling foot for your sewing machine alls the better, but I don't have one of them. :( I kind of doubt they make such a thing for the cheapy sewing machine I have either. I was thinking though that you could maybe do this tree without sewing, just by gathering wired ribbon yourself. It would be a little harder but I think it could be done. I'm going to stick with the sewing to make it easier on myself though.
 Behold, the gathered ribbon. For this tree I chose 2 different colors of ribbon in a coordinating color palate. I gathered each one.
 Step 4: Glue ribbon to tree form. Start at the bottom with one of the colors of ribbon and start by putting a line of glue on the bottom of the cone. Glue the fabric to the cone. At the end, cut the ribbon and then glue the loose end to the beginning.
 Step 5: Repeat this process with the other ribbon. Then alternate all the way up the tree.
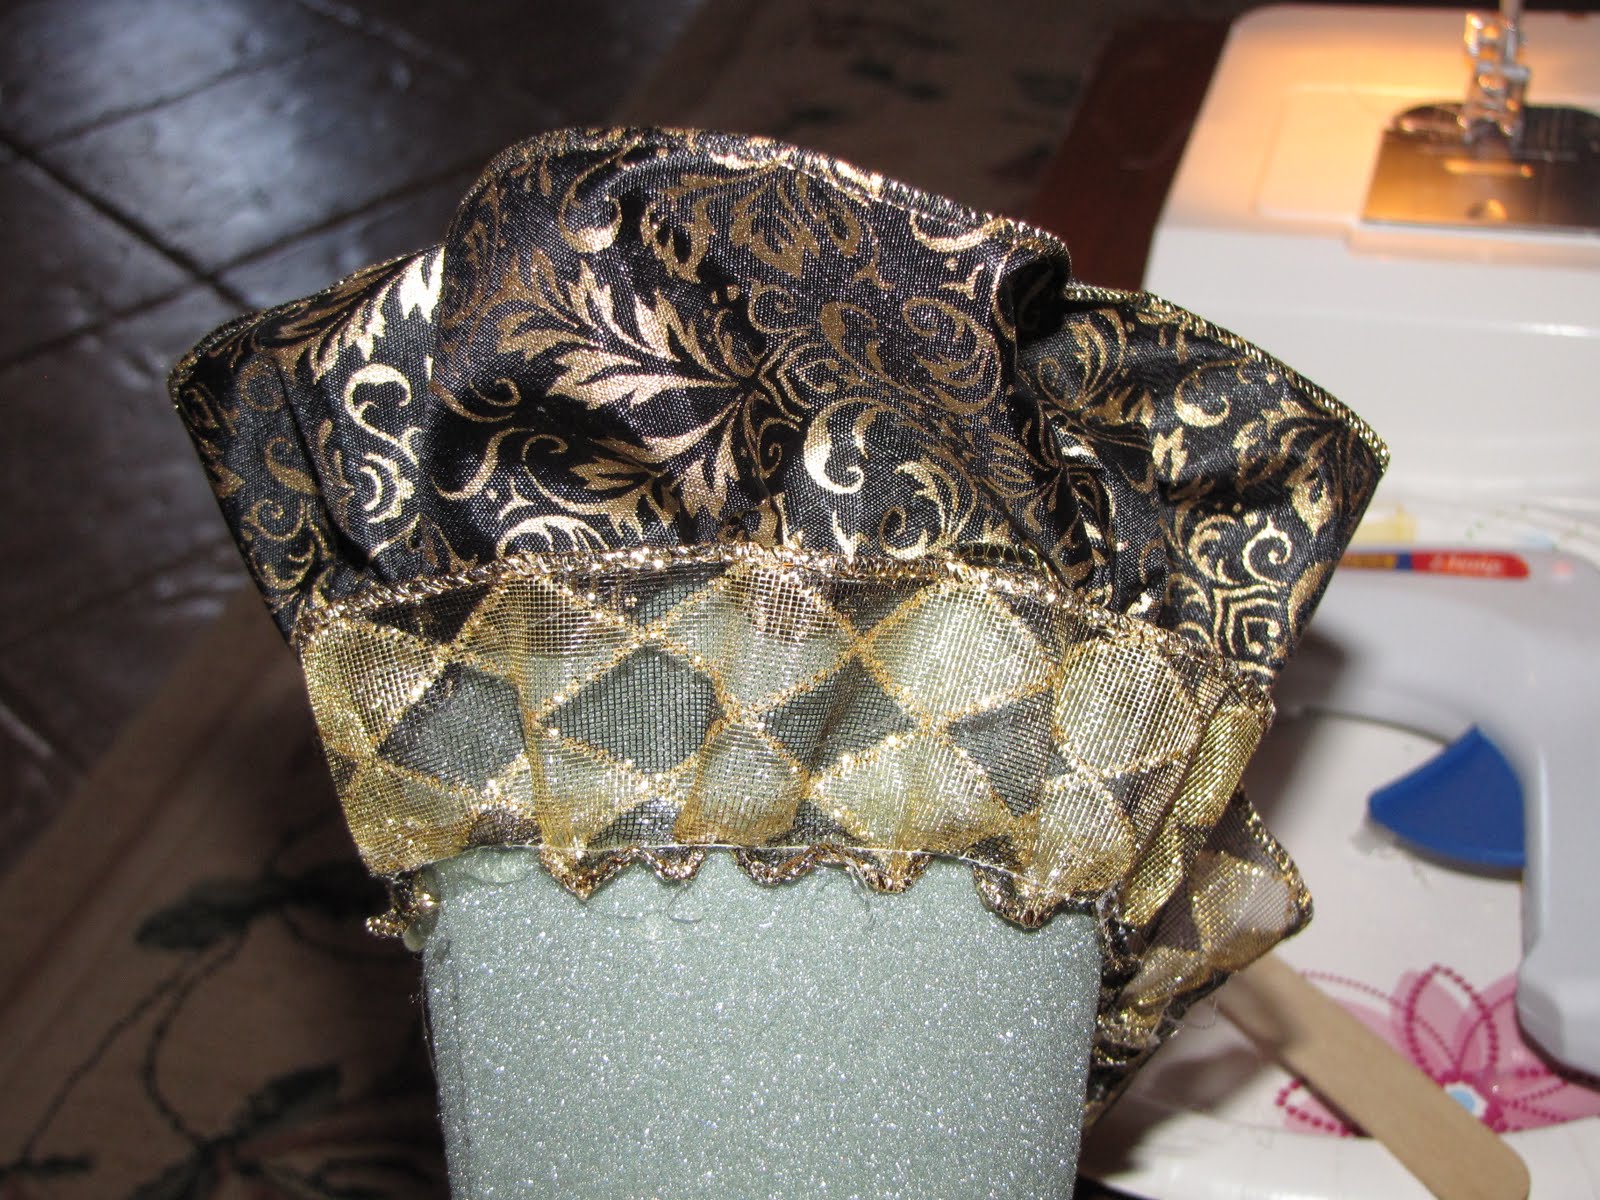 The tree will look like this when it's completely wrapped. The top gets a little tricky but just be patient and it will work out. Remember this is a "work of art"...mistakes add character right?

Step 6: Glue the candle stick to the base. Then glue the candle stick to the tree. I actually ended up cutting a dowel rod that fit in the candle sticks, glued that inside the candle stick and then stuck the dowel rod into the tree and glued it there as well. I wanted to make sure it was more secure
 Step 7: Glue the finial to the top of the tree.
 Step 8: Wrap the twine around the top of the tree to hide any imperfections, leaving 2 long strands. Tie a jingle bell to each loose end.
 Tada! That's it. These are a few of my finished ones. I haven't put the bases on the smaller trees yet because I wanted a slightly smaller base for them.
2 comments:
how cute!! and is that some su! designer fabric that i spot? very chic!! great idea!
Ah...good eye Inspired30! Yes it is indeed SU fabric. I was wondering if you both would notice that. ha ha ha
Post a Comment