 We erected 2 X 6's as a base and then filled it with dirt. The dirt we bought was less than good so then we supplemented the dirt with fertilizer (aka cow poop) from a local nursery. We put up lattice as the walls and even went so far as to build a gate. I worked, and worked, and worked, and worked at the garden that year. All for naught. I think by the end of the summer we had harvested one jalapeno and 2 tomatoes. That's an awful lot of work for that little of a crop. In our infinite wisdom on where to plant we just didn't take into account that the fence would shade the garden for 70% of the day, so basically the garden got about 1-2 hours of sun a day when the sun was noon high. Definitely not enough to grow anything of value. So, for the last 2 years, the garden has sat empty, just growing weeds.
 This is what it looks like today! Pretty pathetic is it not?
Well, this year I wanted to try again. There is just something to be said for a freshly grown vine ripe tomato. You just can't get that taste from anything you can buy in a store and I live in a town where there is no such thing as a farmers market. You either buy it at the grocery store or you are SOL.
 My first task was to decide where to plant a garden. I thought about the original garden place, but even after trimming the trees I watched it for a few days and it still just didn't get enough sun. Between the lattice and the fence on the other side, it is just basically shaded most of the day. So, I needed to find a new place. Eventually I will tear down that eye sore in the corner but for now, it is still there.
  I looked all around the yard and found this spot...next to the well house. I wanted to find some place that got a lot of sun, but wouldn't make mowing more difficult for Hot Rod. I picked this spot and then asked his opinion. He said it would be perfect there because that spot is already very difficult to mow. First step was to remove my makeshift potting table. Basically all that means is an old patio table that I've been using to put my potting things on. What I wouldn't give for a cute real potting table and cabinet. One day, one day...
  OK, that was easy. I just moved the table to the back side of the well house. Eventually I want my REAL potting table and cabinet to replace this ugly eyesore of a table. That's when I actually find one that is!
 Next step, is to plan out the garden. We bought a raised tiered garden from SAM's. The instructions for it said to measure out a space 4' X 4'. Here are my tools for doing just that! (yes, the beer was an essential "tool" in this endeavor. I mean what isn't better than an ice cold beer when you are working out in the sun? Am I right?)
 I used my level and then marked the 4' X 4' space using twine and the little brads that came with the ground fabric I had bought for the original corner garden. Once the area was marked off, I spray painted it using the cheapest spray paint I had laying around. A Wal-mart brand black paint that was 99 cents a can. Hey, whatever works, right?
 Next step...water, water, water, water the ground. I needed to be able to dig it out a little. The instructions for the garden said to remove the sod and turn over the ground. In addition to this though I had to dig one side of it lower than the other side the ground there was pretty uneven. I watered the ground (actually the entire yard) for a couple of evenings.
  Saturday morning I got up and started digging. All I can say about that is I definitely DID NOT miss my calling as a ditch digger. Man, that is some hard, hard work. I'll take my system administrator job any day over that kind of manual labor. But, it worked out and between myself and Hot Rod we got the area dug out. What I did was remove the twine and brads so they wouldn't get in the way but the area was still marked off by the paint. (in case you were wondering the purpose of the paint when it was already marked off) Then we built the garden and put it in place. It is perfectly level too which is a big accomplishment because the ground was very uneven there.
 Then we filled it with dirt and planted a few plants. I missed taking pictures through this part though. We made one mistake. The garden comes with a trellis for the back. Well, we placed the garden and I started filling it with dirt while Hot Rod put the trellis together. Turns out you were supposed to attach the trellis to the rest of the frame from the BACK side of the frame. Well, that just happened to be butted up next to the well house and pretty much unreachable at this point. On to plan B. Hot Rod just attached it from the front, no big deal. I finished filling it with dirt (and man did it ever take some dirt!) I think by the time I finally got it full it took 8 of those 56 quart bags of potting soil that you buy at SAM's! That's quite a bit of dirt.
Then I got to planting. I bought 3 tomato plants, one jalapeno plant, one fresno chili plant, one crookneck squash plant, and one cucumber plant. I also bought several herbs but those I put in pots and keep them on the patio in this really cute little shelf my mom gave me last year. Super convenient when I need the herbs for cooking too. I just run out with my scissors, clip off what I need and head back in to use them in cooking.
After I planted the plants, Hot Rod had another brilliant idea. When we got the tree's trimmed last week there were 2 trees that were basically killing each other. The guys said we needed to pick which one we wanted to keep and cut down the other. One of them was in really good shape and the other pretty much looked dead. The one that looked dead was a cedar tree. The trunk of the tree is super gnarly and Hot Rod fell in love with it and wants to make something out of it. I think he is actually going to make a home made totem pole for our yard out of it. Anyway, I digress. So, he's been working on the tree trunk and has been removing all of the bark of it. He suggested I use the bark he removed as the mulch for the garden. Thus, saving me from buying bark and also getting a double duty of using cedar which is a natural bug repellent. Win Win!
 So, I gathered up all of the bark and spread it all over the garden after the plants were put in place. Tada! My lovely garden! Now all I need is sun, rain, and time. The rain hasn't been very generous around here so watering will have to be done for now.
 While we were out shopping for the plants, I picked up the herbs and some flowers as well. Time to pretty up the patio at the same time. I planted flowers in all of my existing pots. I just love flowers on the patio, don't you?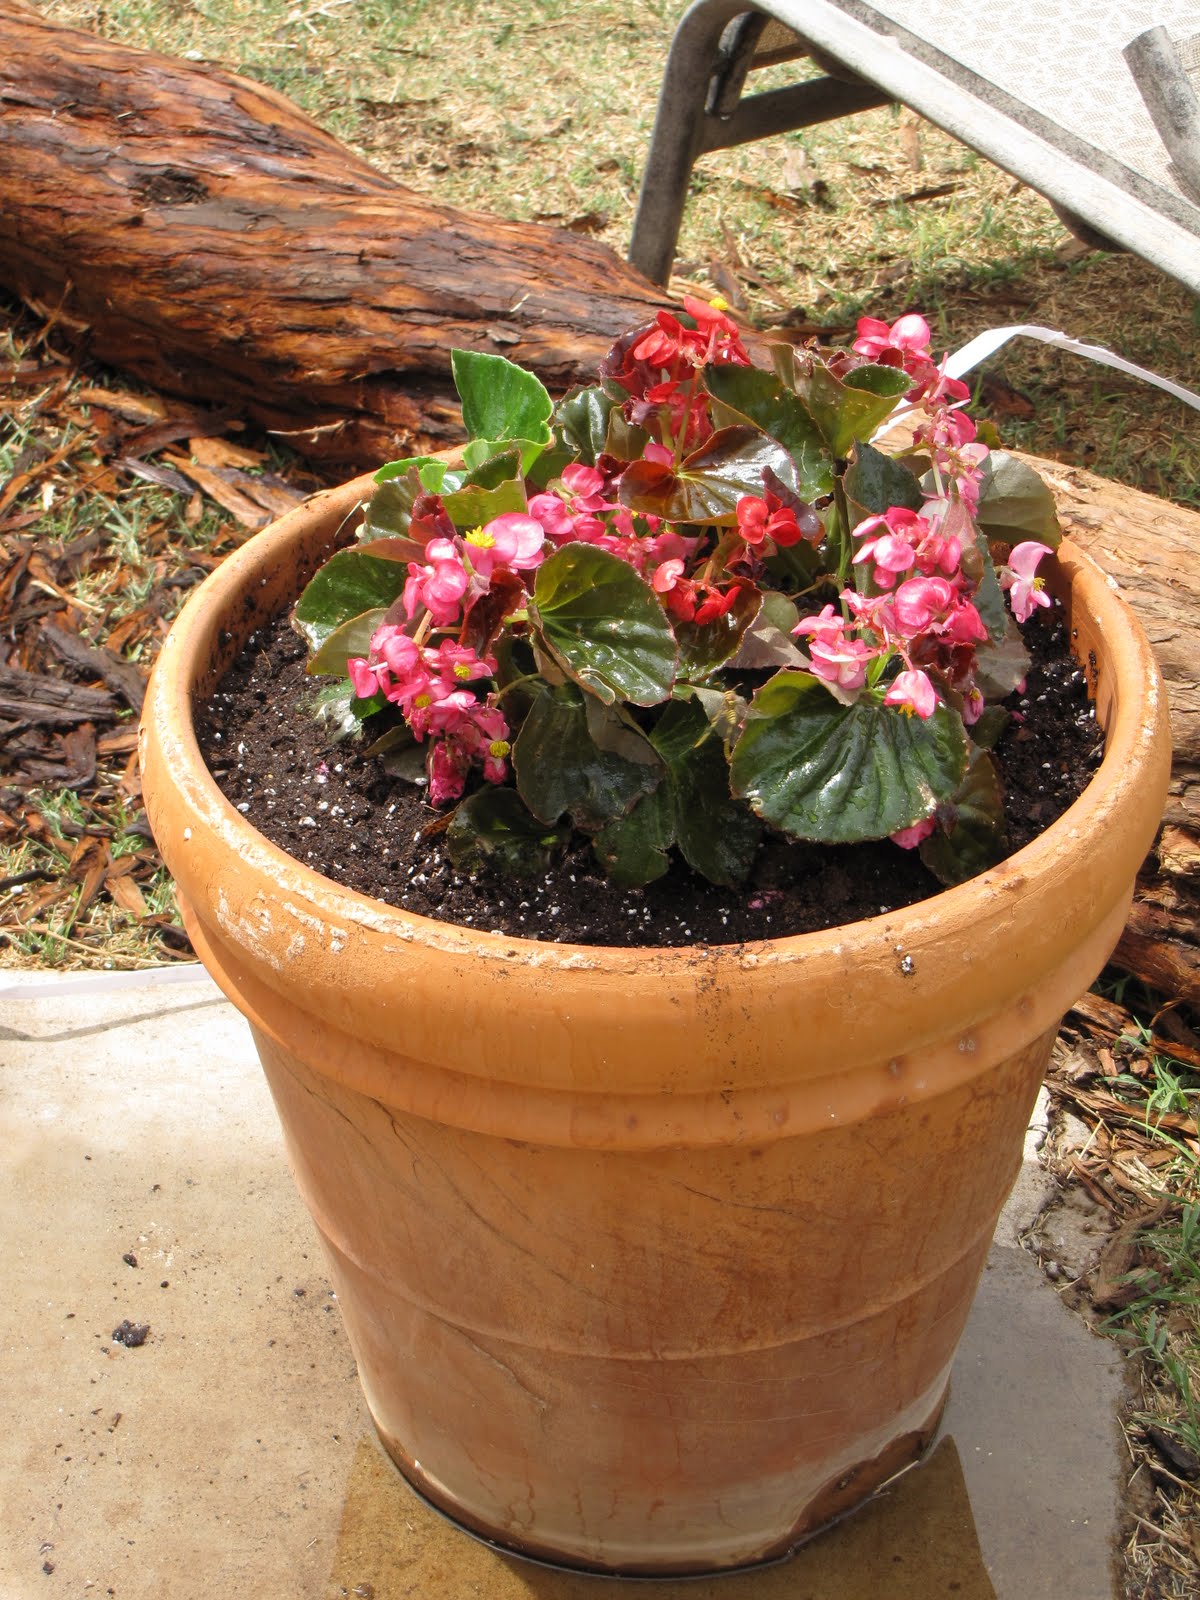
 Also while I was at it, I decided to separate a few of the baby spider plants from their mama plant. I've had this plant in my kitchen forever it seems. It just keeps producing babies. So, I cut a few of the babies off and put them in pots to start new ones. I'm hoping they take and then I can give them to my kids so they will have a pretty spider plant as well.

Once that was done, I started working on cleaning the patio from the winter crud. I rinsed the house down, swept the porch, sprayed off the porch, sprayed off all the patio furniture. Moved the stand up heater to the side and put the lounge chair out. Ah! We are ready for Easter and the annual Easter Egg hunt that we have at my house every year. All that's left at this point is to get the hammock out and enjoy the season.
*Note, I will post update pictures on the garden as the season progresses...please wish me luck that I have better luck this year and we have a bounty of peppers, squash, cucumbers, but most of all tomatoes!*


